
Meeting a Ladder Maker
We “meet” so many interesting people with thatch related stories to tell and one such person with a tale about making wooden thatching ladders is no exception.
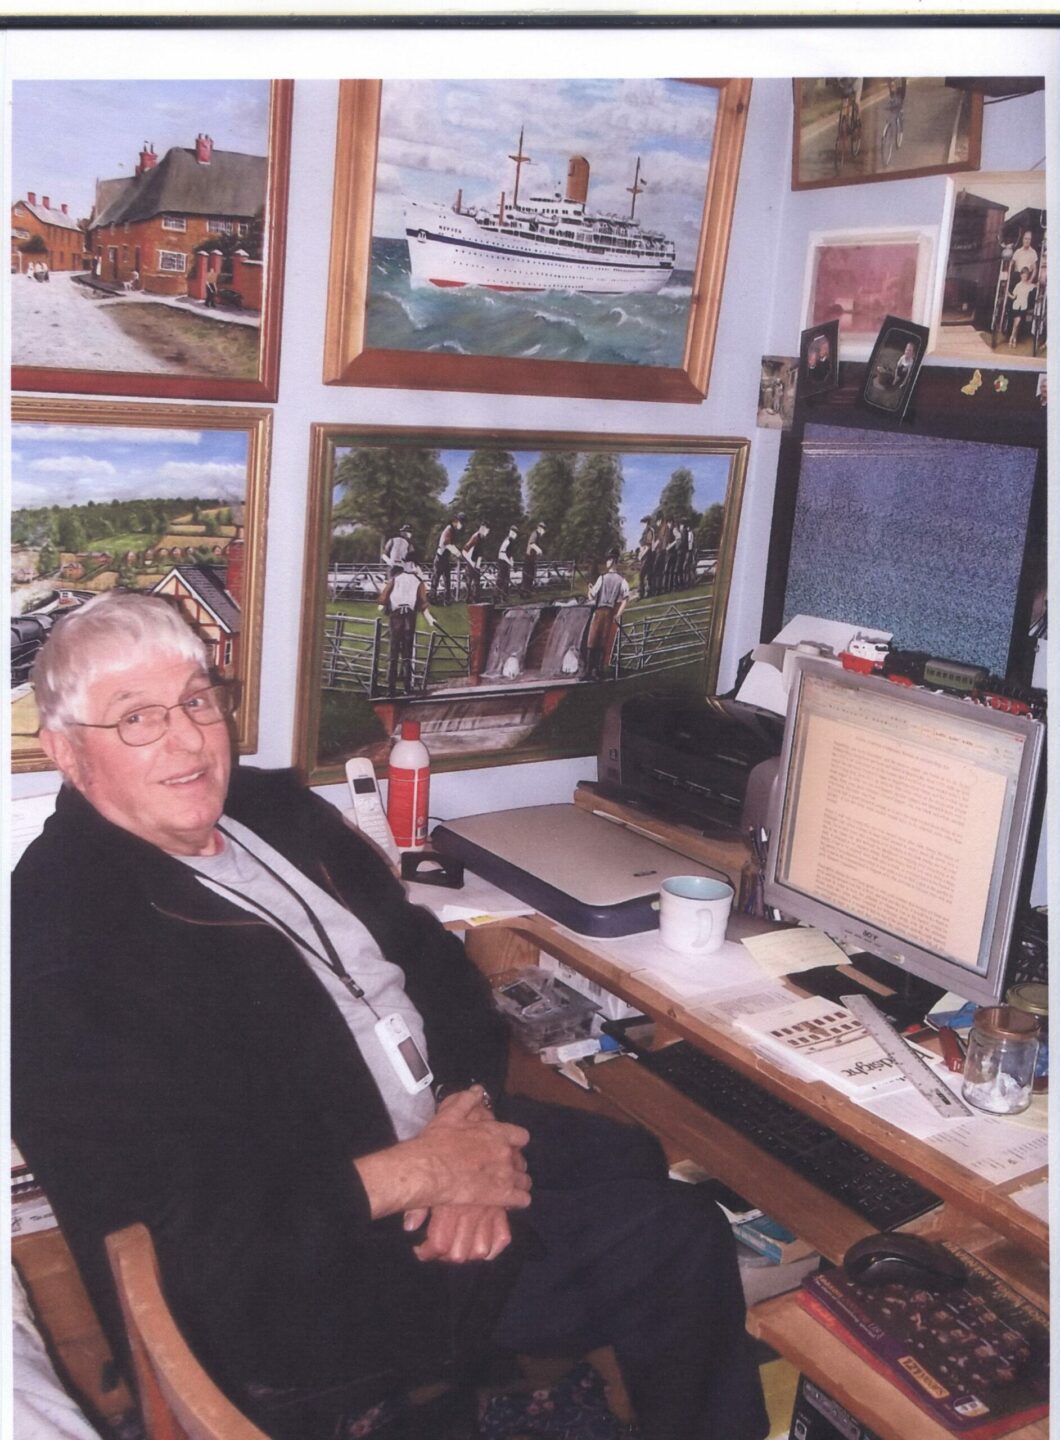
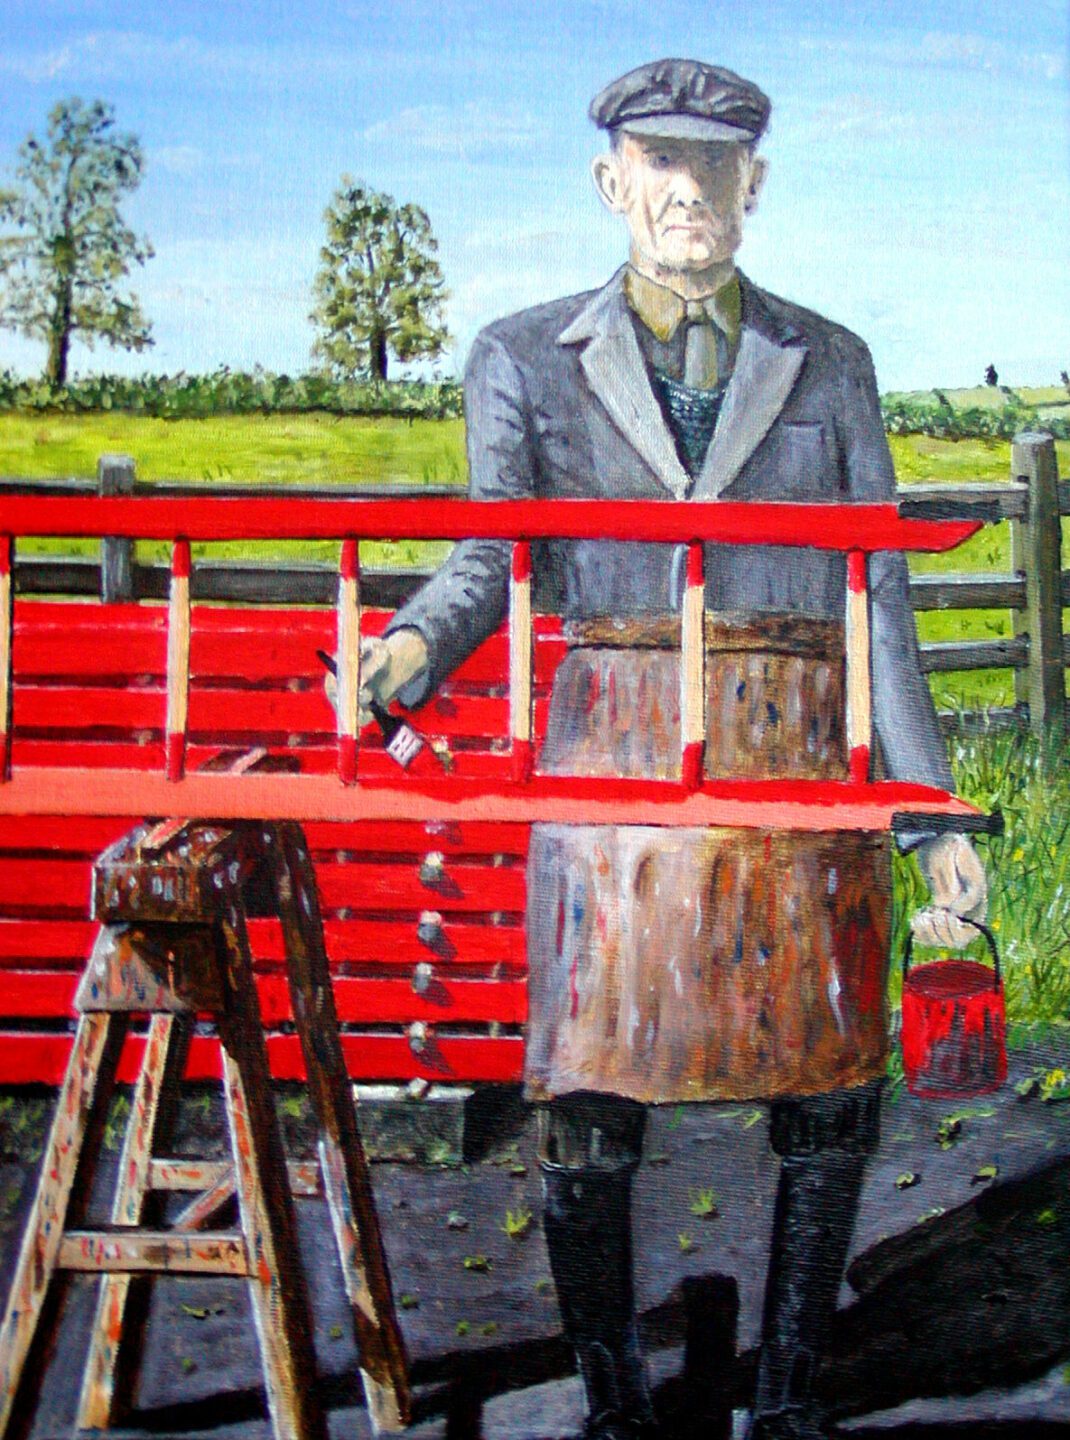
Stan Clark is a character, “raised during the second world war” and helped out on the farms with a multitude of jobs including “preparing bundles of straw harvested into yelms“. Part of his work history, included making wooden thatching ladders. Here, in this article, we will – in his own words – tell you a bit more about what was involved in being a ladder maker. Paintings in this article of wooden thatching ladders etc are also by/from Stan.
The Start of the Wooden Ladder Makers Story
“Mother was to channel me into the ladder making and undertaking trade whereby I learn how to make bespoke ladders for Thatcher’s to use as the wages were more rewarding than a normal farm worker.
I had the pleasure of working for Mr Harold Ward; John Ward & Son. Ladder Makers & Undertakers, from leaving Bugbrooke School on the Easter of 1954, up until having to leave in November 1958 to start my two years conscription, (National Service)
A standing joke at the time while I worked there was Coffins for going down and Ladders for going up.”
Wooden Thatching Ladders – The Poles part 1
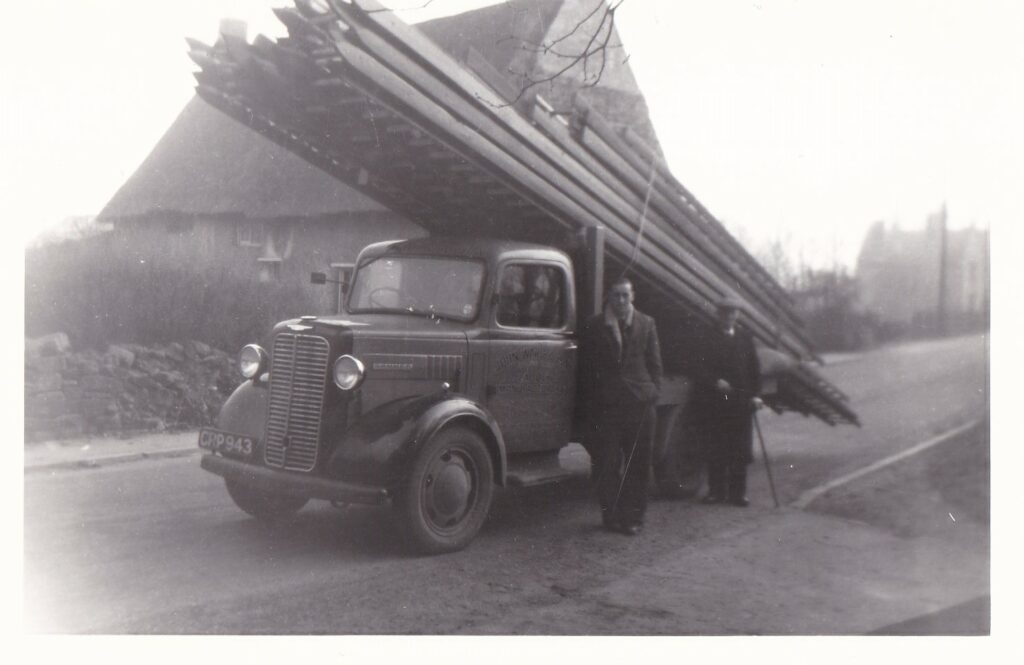
“From the experience of starting work for Mr Ward in the April of the year 1954, the first major event was the delivery of the many Norwegian Spruce Poles, (Christmas Trees) that would be cut up the centre and stacked to dry or season.
Mr Ward would order these poles from a firm in great Yarmouth, whose registered trading name was Jewson’s Timber.
They came in all different lengths and sizes, the majority of them ranging from 15ft, to 40ft in length, amongst the order would be some extra large Poles that were to be 50ft to 65ft and even 70ft in length.
There would be about one thousand five to six hundred of different sizes delivered to the workshop
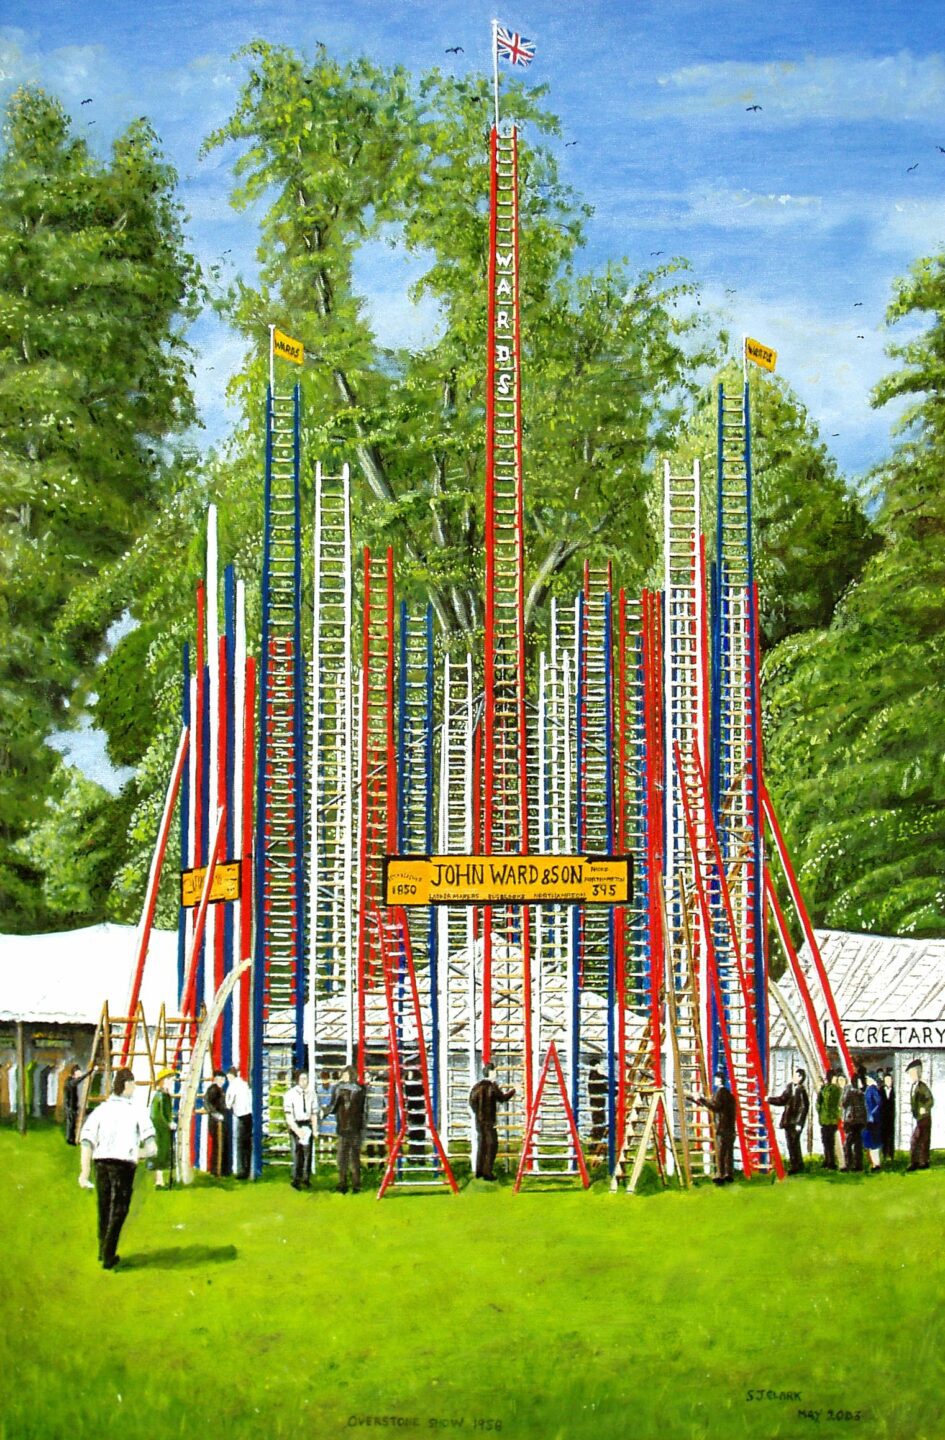
The very large poles when made up into ladders were used as the main attraction or centre piece on the show stands; hence I have done painting for a record as to what they looked like.”
Wooden Thatching Ladders – The Poles part 2
“The cutting up the centre of these poles on a circular saw, were done in the early summer months, when the weather was normally very hot and dry, it was very hard and strenuous work for everyone, and during the period of my very first time of helping out with this sort of heavy work, I began to wish I was back in school at times.
The noise of the saw took some getting used to, especially when cutting the very long and large poles, it would take everyone in the shop, to cut these up the centre, for they not only had to be pushed through the saw, but had to be supported by several struts, with two men to a strut, these long poles ( 60 to 65ft and more), were to weigh up to three Hundred weight each or more, they really slowed the pace of cutting right down, followed by a rest after each one of them.”
Wooden Thatching Ladders – The Poles part 3
“The base that the poles were stacked on, were made by the use of old railway Sleepers set approximately five feet apart, so at a later date, by using the measurement distance of the sleepers, such as Five, Ten, Fifteen, Twenty, Twenty-five, Thirty feet in length, and so on, made the job easy when going out to fetch a required length of pole to be made into a ladder, a clean slat of timber would be nailed onto each sleeper making up the base that were all set in line and level, and timber slats were laid between each row of poles that consisted of about ten poles per row, to about twenty to twenty five rows in height.
These stacks were put on the highest part of the field or piece of ground, to help alleviate the problems that arose when this part of the village flooded, as it could flood four to five times every year.”
Wooden Thatching Ladders – The Poles part 4
“My very first time of helping out to cut poles, I was paired up with Mr Alf Beasley from Kislingbury, we took it in turns to carry the different ends of the poles, alternating from having a light end to a heavy end, they had to be lifted up and taken from the heap or stack, where they were dropped on delivery, to the saw bench to be cut up the centre.
And when doings so, we were to carry a pole that had been cut into two halves, away from the saw bench, to be stacked either out in the field, or under a drying shed to season, followed by picking up another pole on the way back to the saw bench, this relentless work was to carry on day in day out for over a week and half, the only times that we stopped doing this work, was either through the weather being not suitable, but that was very rare, part from that, it would be stopping for tea breaks, or to sharpen the saw, or to remove the sawdust from under the bench, that was taken and burnt on the large fire out in the field,
We all wore sacking aprons around our waists, as well as a piece of sacking on our shoulders, this was to help stop the resin that came from out of these poles, that would get all over our hands, clothing, and exposed skin, especially around your neck area where you carried the poles on your shoulders, as well as to help stopping you from getting very sore.”
Wooden Thatching Ladders – The Poles part 5
“From start to finish of making a ladder, a selected pole of two halves, would be fetched into the workshop from off of one of the stacks where it had been drying out, or seasoning for the last twelve months, a hole would be bored eight and a quarter inches up from the bottom of both halves, this enabled the halves of the poles to be held firmly by a peg in the plank that was used to work or plane the sides of these ladders up on, the bark had to be removed first, this was done with the use of a Draw Knife, hence the workshop floor being covered at times to the depth of over a foot or more in bark, chippings, and off rips.”
Wooden Thatching ladders – Plane up the Edges
“The next job was to plane up the edges of one of the halves, by pining it to the plank with a peg that went through sideways, if and when both edges on the first half were nice and strait, it would be lain on top of the other half, and with a strong pencil mark it out so that both sides when planed up would be the same size.
If the ladder was to be a builders ladder, the flat side was planed up first, taking out any high or low spots as well as any twist, for at times some would have a slight twist to them, as the nature of the tree when growing grows clockwise, so to plane up the flat side first, you pushed the wood plane up the right side of the pole half, and pulled the wood plane down the left hand side of the pole, this way you did not work against the grain of the timber, and to make sure there was no twist left on the pole halves, we used the jack planes for levels using just ones eyesight.”
Wooden Thatching Ladders – John Ward & Son
Harold’s First Workshop
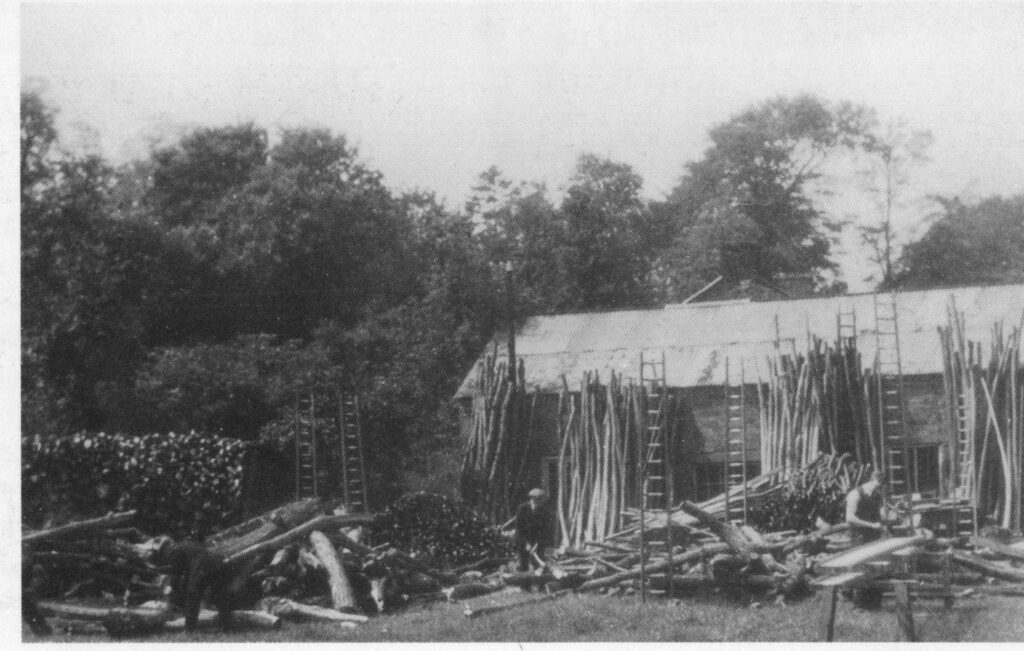
Harold Ward and father Stephen – Church Lane Bugbrooke
Wooden Thatching Ladders – the Rungs
Measuring and Drilling
“When both halves were planed up they were marked with a compass, or dividers where the holes had to be bored for the rungs to fit in, at (Eight and a quarter inch) centres, they were then lain onto some quartered railway Sleepers that were set level into the concrete flooring, to a distance that coincided with the distance that the rungs were to be apart, the pole halves were held into place on these blocks, by the use of Half Hundred weight weights, this was followed by drilling out ¾ Inch holes with an electric drill, (In days gone by they were done by hand), followed by the use of a tapered Orger, tapering the holes out, then the rungs that had been painted on their ends would be inserted, followed by knocking the two sides together with a lump hammer.”
Cramping Together
“When this was done it was lifted up onto a pair of trestles, and with the use of several sets of Sash Cramps, the sides were cramped together and pegged at intervals to hold the ladder together, followed by cutting the ends of the ladder rungs off, that protruded out from the sides, these would drop to the floor mixing in with the wood from drilling the holes, and the tapering procedure, as well as the bark and wood shavings, and other oddments that came from the ladder making procedures.”
Ready for the Ladder Painting
“Then the rounded sides of the ladder were planed up, by tying it to the plank with short pieces of rope, followed by putting a steel tie wire of pins, under every fifth rung holding the ladder together, followed by taking them to the painting department.”
Bespoke Wooden Thatching Ladders
“Ladders for use on the farms especially for the use of a Thatching, after the sides were planed up, the round side was planed and prepared next, due to most Thatcher’s requiring the rungs to be a certain distance apart, a measurement from their instep was taken as to the third rung that sat under the knee joint with comfort, so according to the length of his legs, was the deciding factor to the distance of the rungs being apart from one another, when assembled after the flat side was planed up last.
A set of spiked feet or shoes were fitted to the bottoms of Thatching Ladders, this helped to stop the ladder from sliding down off the roof or Rick that was being Thatched, as well as giving the Thatcher a strait edge to work the Thatch to, these ladders were normal Forty Five rungs or more, forty feet plus in length.”
Preparing a Pole to be made into a Thatching Ladder.
Removing Bark and Planing
“After removing the bark, the sides were planed up first, the flat sides followed by taking off any twist or bumps, then with the flat side facing down on the plank, with the rounded side facing up, when starting to plane up this rounded surface, one planed just the top surface from the bottom to the top of the pole half, taking out any bumps and producing a nice even taper to its length, with the sides and very top surface done, the side quarters were then planed up from end to end, each quarter was split up into two straight edges, so looking at the pole half when roughed out, it looked like a half of a old three penny piece from top to bottom, then each and every sharp ridge was planed off, until you started to see a perfect half rounded pole, all this work was done with a large Jack Plane, and finished off with a small smoothing plane leaving a series of very fine ridges that the plane leaves when doing so, followed by the use of sandpaper one could hardly see any plane marks at all.”
Marking out
“The side were then marked out with a compass to the distance required according to the distance of the man’s instep and knee joint, in order for him to kneel working on it all day without any discomfort be it thatching or whatever.”
Fitting Ladder Spiked Shoes
“These thatching ladders were fitted with steel spiked shoes so that when leaning on a Hay or Straw rick, or house roof during thatching, the bottom would not slip off or away.”
Drilled, Tapered and Ladder Rungs Fitted
“The halves of building ladders or thatching ladders after being drilled out and tapered ready to have the rungs fitted, the sides were gently tapped together with a lump hammer starting by putting the heaviest end together first working from the bottom end to the top.”
Clamping the Ladder Sides Together
“Followed by lifting the ladder up onto a pair of trestles whereby the side could be pulled together fairly tight with the use of several sets of sash clamps, great care had to be taken for if pulled together to tight it could split the pole half from one end to the other.”
Wooden Pegs
“The clamping the sides of a ladder together was another instinctive and feel job like the rest of the work, while the clamp was holding the sides together, a two sixteenth of a inch hole was bored through the edge of the pole into every fifth rung, followed by inserting a wooden peg to hold or retain the sides in place when the clamps were removed, these pegs were cut off close to the ladder sides with a sharp chisel and mallet.
To make these pegs there was a small wooden chopping block to one end of the bench, along with a small chopper that one hit with a hammer to split the wood, enabling one to make such fine pegs, a point was put onto one end by the use of a very sharp wood chisel, it was another job for an apprentice or an old age pensioner.”
Removing Rung Ends
“When completing this task the whole length of the ladder, all the rung ends that were protruding out from the sides, had to be sawn off, these were to fall upon the floor mixing with all the chippings from the drilling, tapering, bark, and wood shavings, bit of pin iron, that were amongst one feet at all times, Mr Ward gave several old age pensioners the job of clearing up as we worked away, for it was all taken and burn on a fire out in the field that never seemed to ever go out.
After all the rung ends had been removed it was taken and tied with short lengths of rope to the long plank to be planed up.”
Builders Ladder v. Thatching Ladder
“If the ladder was a builder’s ladder with the round on the outside, when tied to the plank, the same procedure of planning it up was the same as preparing thatching ladder sides.
If it was a thatching ladder only the flat side had to be planed up.”
Pin Iron every Fifth Rung
“The next job when they were all planed up was that a quarter inch pin iron was inserted under every fifth rung, these were to hold the ladder sides together, or at times under every rung as commonly requested, it was a full time job for a pensioner to cut and prepare lengths of pin iron along with riveting a washer to one end of them for this job, when inserted under the ladder rungs a small portion had to be cut off to length ready to have another washer riveted on the opposite end, this was done by holding a lump hammer to the opposite end that had to have the washer riveted onto, with the use of a ball pain hammer the job was very quickly completed.
All the short pieces of pin iron that was cut to length fell to the floor amongst the rest of the waste that was produced.”
Ladder Shoes on /Finish off Ready to be Painted
“The thatching ladder would have the shoes fitted after this procedure, and then they were taken off to be painted, not forgetting to plane up the very ends on the ladders to remove any sharp edges.”
Ladder Rung Interest
“I did at one time take several oak and ash rungs to Northampton Technical collage to put them under a press that registered how much weight they would take before they broke under pressure, the oak rungs would hold up to over 500 pounds pressure, before breaking and the ash just over 250 pounds pressure, it pleased Mr Ward at the time, for the interest that I took in ladder making.”
Metal Fittings for Ladders
Mr Burrows
“A Mr William Burrows a Blacksmith from the village of Pattishall used to make some of the metal fitting for these extending ladders, as well as the shoes for thatching ladders, it amused me at times for if and when Mr ward asked if he could make them any cheaper, he would make them out of worn out Shire horse shoes, funny enough they were quite all right and did the job even though they did not look very neat as they should have done.”
Mr Green
“A Mr Green from the village of Flore was another blacksmith who made fittings for these ladders, these fittings were of a different class for he would use only good steel to make them with, and they came with a coat of black paint on them, he was to make them all when Mr William Burrows retired at a very old age, in his late Eighties.”
Mathew Brothers
“Another Blacksmiths who made fitting for the extension ladders as well as shoes for the thatching ladders, by the sack full were to be the Mathew Brothers from Far Cotton Northampton.”
New Ladder Laws
“A new law came out stating ladder did not have to have any paint applied upon them, so if and when they started to glue the rungs into the sides, instead of pegging them it really speeded things up even more, it became minutes for a ladder to be constructed instead of hours of hard intensive work, not forgetting all the skills required to do so, as they were no longer needed!
It was such a change in the way ladder were made in such a short period of time.”
Heritage Crafts Association Involvement
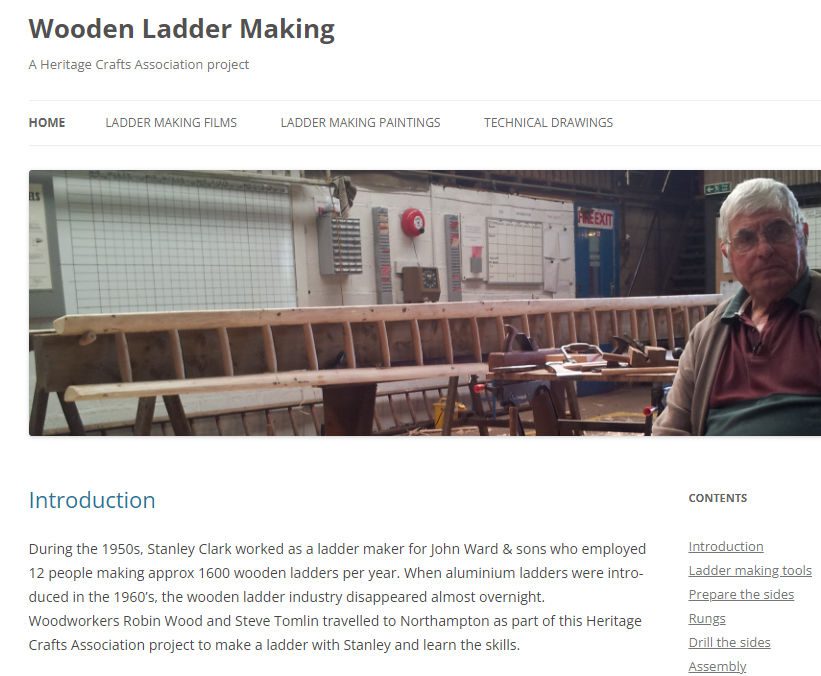
The Heritage Crafts Association project allowed woodworkers Robin Wood and Steve Tomlin to learn about wooden ladder making and to make a ladder with Stan.
There is a great account on their website as well as ladder making films of the process to enjoy. These further showcase the information Stan has given us for our article. Fascinating and wonderful to see this craft and skills being passed on.
Wooden Thatching Ladders – Conclusion
How wonderful to think that wooden thatching ladders were bespoke made to fit the thatcher to make his working life more comfortable. The demise of these skills was apparently very sudden. Aluminium ladders may have had benefits but rung distance is not one of them. Being metal also was an initial drawback, if you watch the videos!
All these pole ladders were made with hard work,skill and experience. Thatching ladders went a step further in being made for the individual, a rare thing nowadays.
Appreciation to a Wooden Ladder Maker
Huge thanks to Stan Clark for giving us this great information on wooden ladders, with the wonderful additional detail on bespoke wooden thatching ladders and links to the Heritage Crafts Association excellent work.